Case Study
Goals:
Create an animated explainer video.
Length must reach at least 1:30.
Communicate its ideas in a fun and engaging manner.
Tools used:
Adobe Photoshop
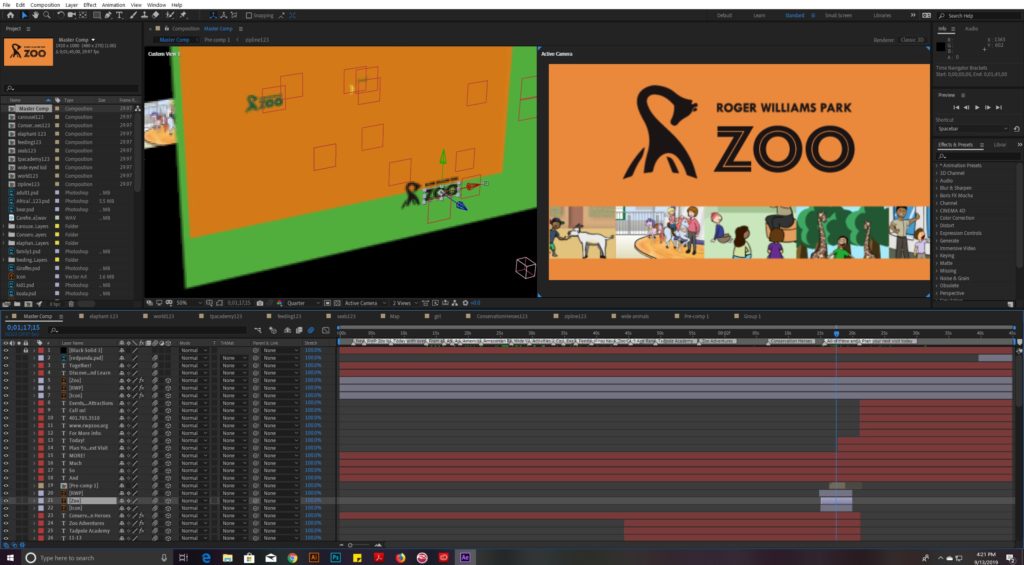
Adobe After Effects
Bamboo Tablet
The Inspiration from the Zoo:
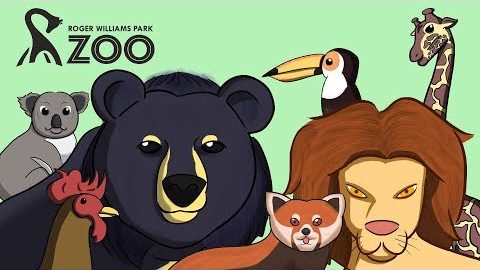
The idea for this animation came from my childhood love for wildlife and my experience at the zoo. This nostalgic feeling is what inspired me to use a hand-drawn, characteristic, and colorful art style. My target demographic were children and parents in Rhode Island who may be interested in what RWP Zoo has to offer. The goal was to communicate the information about the zoo’s attractions and programs in a simple way that were accentuated by the visuals.
Pre-production: Before preproduction, I had to determine what needed to be done, which I broke down to several stages, which were:
- Idea listing
- outlining
- script writing
- Storyboarding
- Asset Production
- Staging
- Animating
Bullet Pointing Ideas:
The first stage was researching the zoo’s programs, attractions, and history. From these, I would list ideas for scenes in the videos and outlining the ones that worked to put into the video. With a rough outline how the video would be organized, I began the script writing process which would be read by a professional voice actor.
Outlining and Script Writing
Using the ideas I listed earlier, I created an outline of how the video would be organized and communicate its message. The goal was to assemble the scenes in even pacing while entertaining & educating the viewer. This would lead to the writing of the video’s scripted dialogue.
The script of the video was written to have more dialogue than I thought I needed. This was to prevent running short of the video’s required 1:30 length. I wanted to include supplementary facts/aspects of the zoo, including seasonal events and misc. attractions.
Storyboarding:
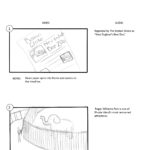
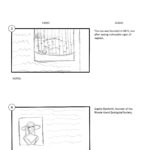
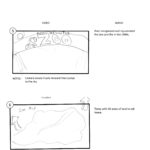
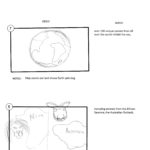
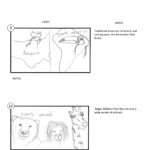
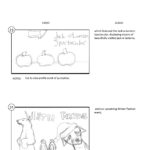
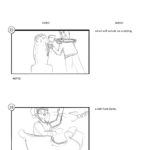
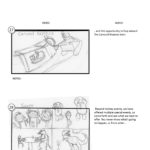
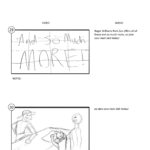
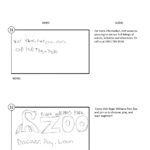
With the outline to give me a visual idea of the scenes and the script to give me an exact idea of the length of each scene. Drawing them gave me a rough idea of the art style I would use and I wrote notes on how some scenes would move and play out. All this would be integral to the asset production and animation stages. Once the voice overcame in, I knew which parts of the storyboard would make it into the final product and which wouldn’t.
Staging and Animating
The last stages of the process were asset creation and the animation process. Asset production easily was the most time-consuming phase of the entire project, spanning over 20 hours. Using a bamboo tablet to create an authentic hand-drawn style in Photoshop turned out great for the tone I wanted to capture. A couple of time-saving techniques I did were to write down the brush sizes and color pallets I used to keep the style as consistent as possible.
The animation used both the drawn assets and some kinetic typography to give breaks between the more entertaining aspects of the video and leaves room for the expository elements. The combination of the two creates a balanced experience that realizes the main goals of the video.
Overall I am very proud of this project and I found it incredibly rewarding. The time and work it took was vastly overshadowed by the passion and joy I felt while creating it, and I can not wait to make another in the future!

